But you may be having difficulty figuring out how to access that part of your document, as you can’t just navigate to the header section as you would for a normal part of the document. So continue reading below to learn how to add a header in Word 2013.
Insert a Header in Word 2013
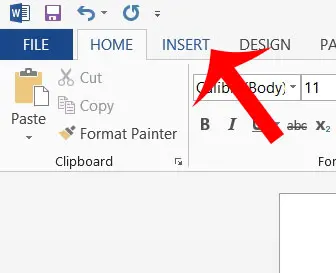
The steps in this article will show you how to add a header to a document that does not already have one. If you are unsure if your document already has a header or not, then this article will help you find out. Step 1: Open your document in Word 2013. Step 2: Click the Insert tab at the top of the window.
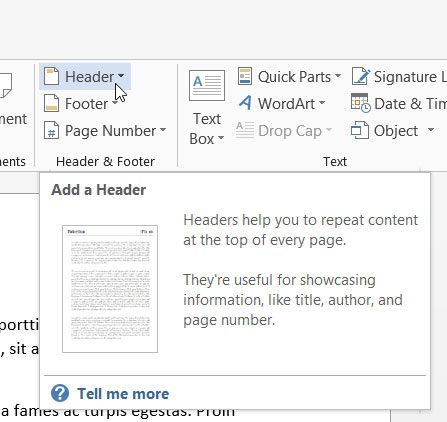
Step 3: Click the Header button in the Header & Footer section of the navigational ribbon.
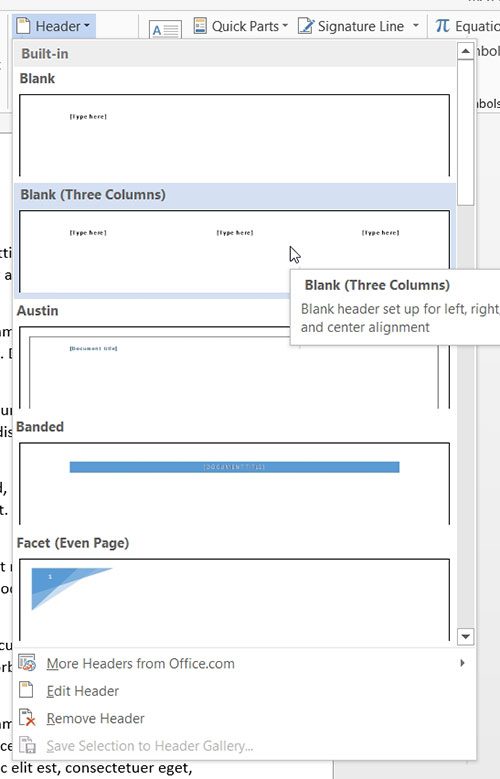
Step 4: Select the header type that you want to use.
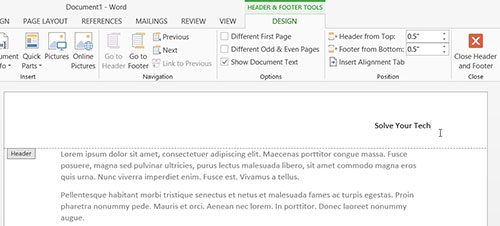
Step 5: Add the information that you want to include in the header. Note that this information will be displayed at the top of every page in your document. You can then double-click inside of the document body to exit header view.
Are you creating a document that has a title page, and you do not want to put a page number on it? Read here to learn how to configure your page numbers in Word 2013 so that they skip the first page. After receiving his Bachelor’s and Master’s degrees in Computer Science he spent several years working in IT management for small businesses. However, he now works full time writing content online and creating websites. His main writing topics include iPhones, Microsoft Office, Google Apps, Android, and Photoshop, but he has also written about many other tech topics as well. Read his full bio here.
You may opt out at any time. Read our Privacy Policy