Zapier is a cloud automation service that lets you link online services together and automate those connections creatively. It has various connections with tools you use to blog that give you lots of options to automate your site management. In this article, we’ll explore the five most useful Zapier automations you can use to save time and effort when running your website.
Automate Social Media Posts
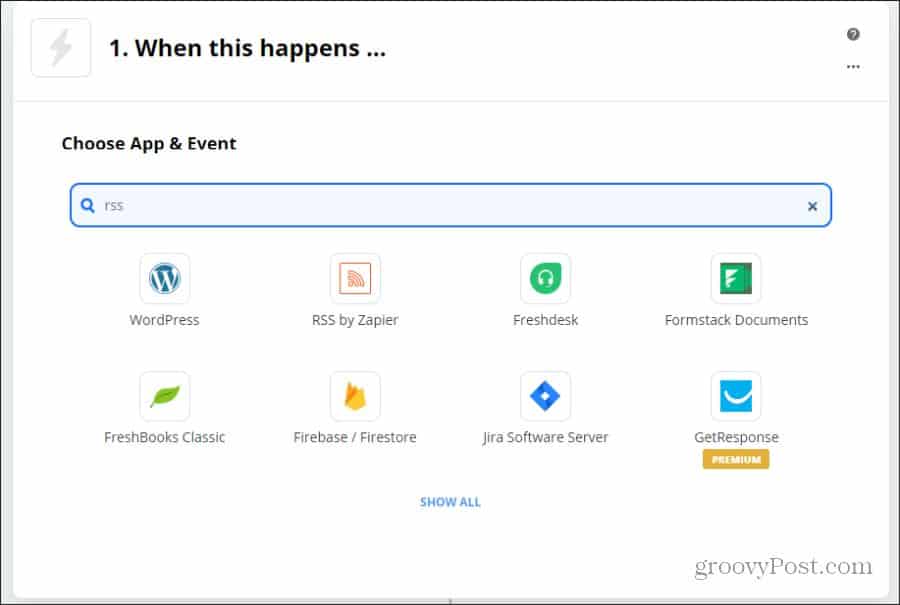
In Zapier, you select Make a Zap! to start the automation process. You’ll see a field under Choose App & Event. In this field, type RSS. To automatically post to Facebook or Twitter, you need a way to detect when you publish a new page on your site. Zapier does offer a WordPress connection, but authenticating is notoriously buggy and would only be useful for people using WordPress to run their website. A better option is Zapier’s RSS by Zapier connection. Select RSS by Zapier from the list of apps.
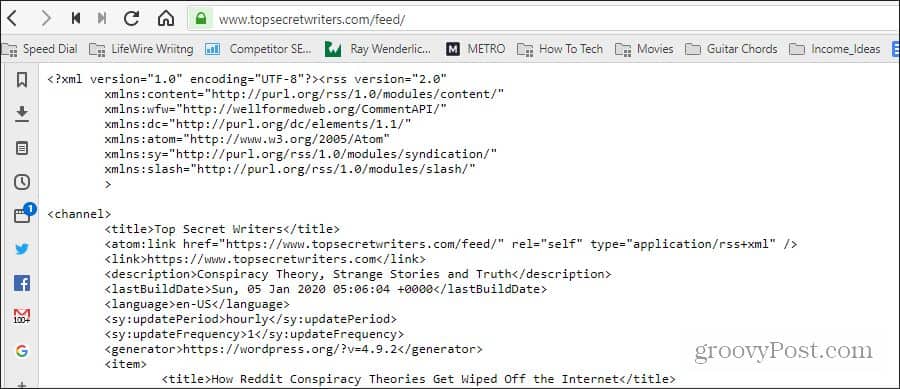
This connector is perfect because nearly every website on the internet has a default RSS widget, and even people who run their own WordPress blog don’t even realize it exists. You can see this feed on any website by adding /RSS at the end of the URL.
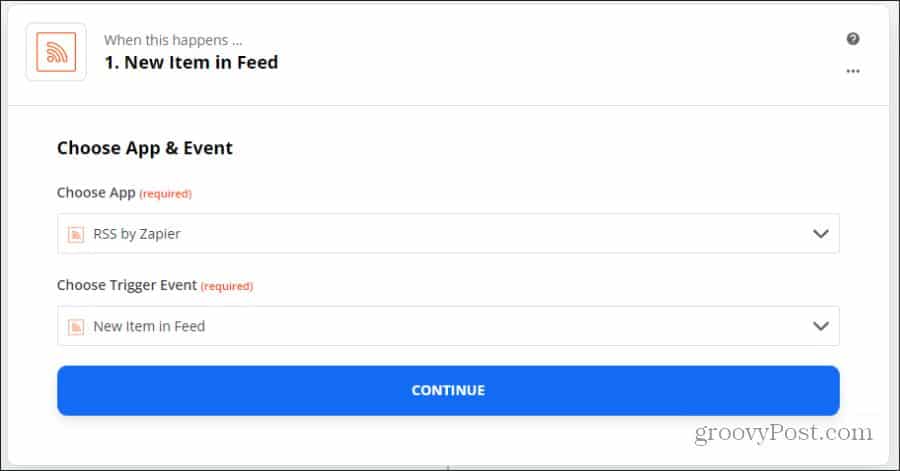
RSS by Zapier will trigger any time that RSS feed gets updated with a new post. In the Choose Trigger Event field, select New Item in Feed.
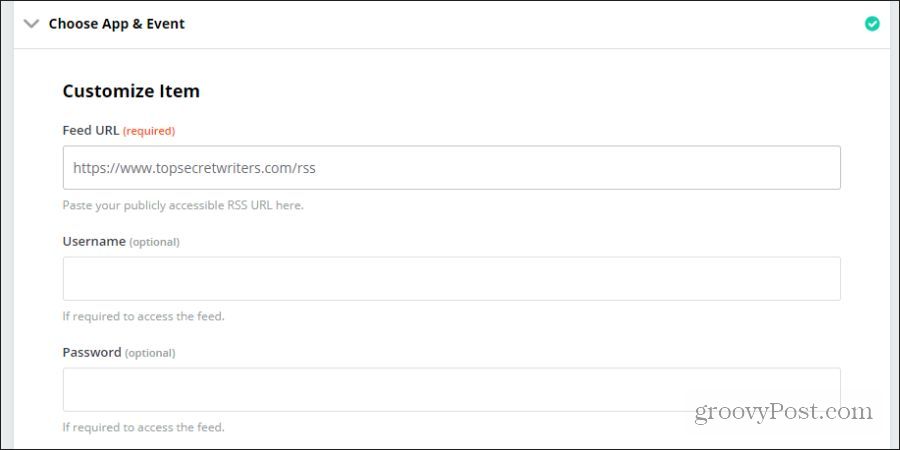
Select Continue to move on. On the Customize Item page, you’ll need to fill in your RSS feed URL. Username and Password fields are optional and not usually required.
Select Continue. You can use the Test & Review step to make sure Zapier can see your RSS feed. On the Do this step, select the Edit button. In the search field, type Twitter, Facebook, or LinkedIn, depending on which social network you want to post to.
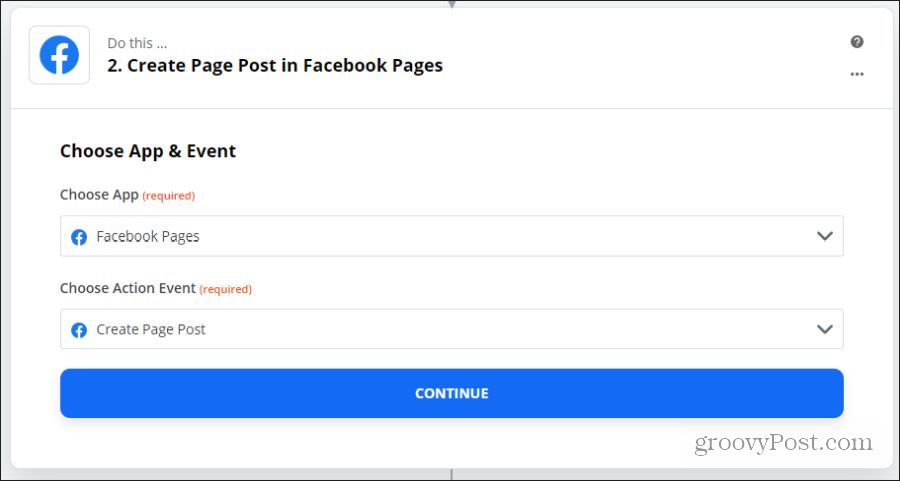
Note: You don’t have to create multiple Zaps to post to multiple social networks automatically. Zapier provides “multi-zaps,” which means you can create multiple actions in a row inside a single automation. Select the social network you want to post to, and under the Choose Action Event, select the appropriate action. For example, for a Facebook Page, you’d want to select Create Page Post.
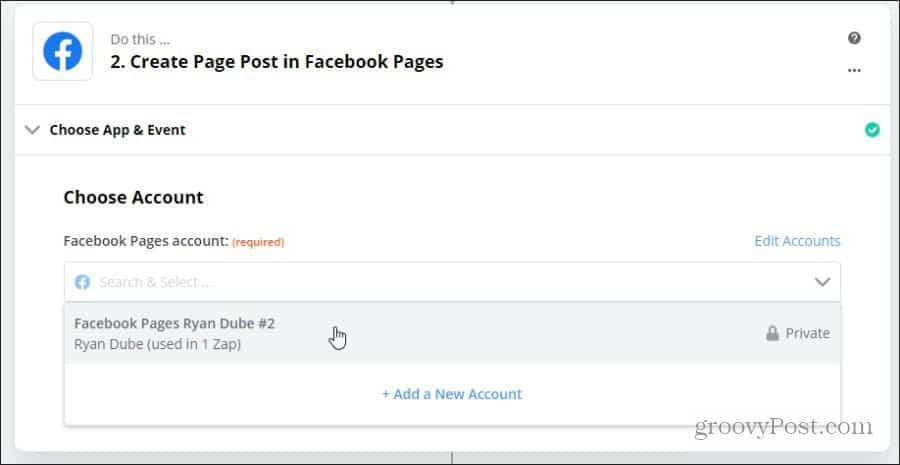
Select Continue to move to the next step. You’ll need to select the social account that you want to connect to. If you haven’t connected any of your accounts with Zapier yet, select Add a New Account and log into your Facebook account.
Select Continue. On this final page, select the Facebook Page you want to post to and use the “+” icon to the upper right of the field to pick items from your RSS feed to use in the social post.
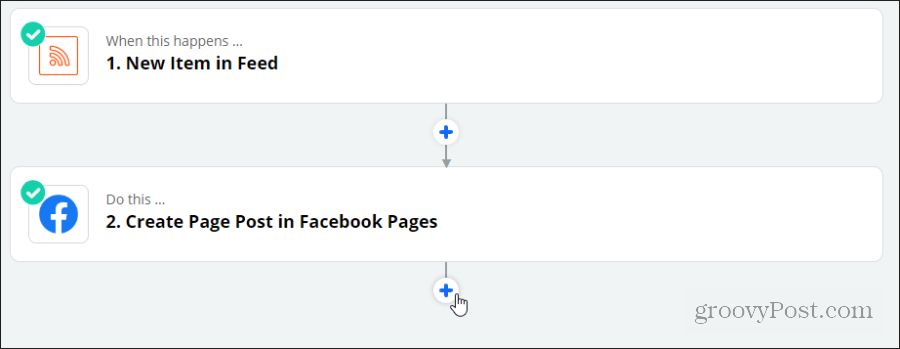
Select Continue to finish your Zap. Post to additional social media accounts, go back to your Zap setup page, and select the blue + icon at the bottom.
You can then repeat the process above to post to your other social accounts automatically.
Automatic Alerts for Comments
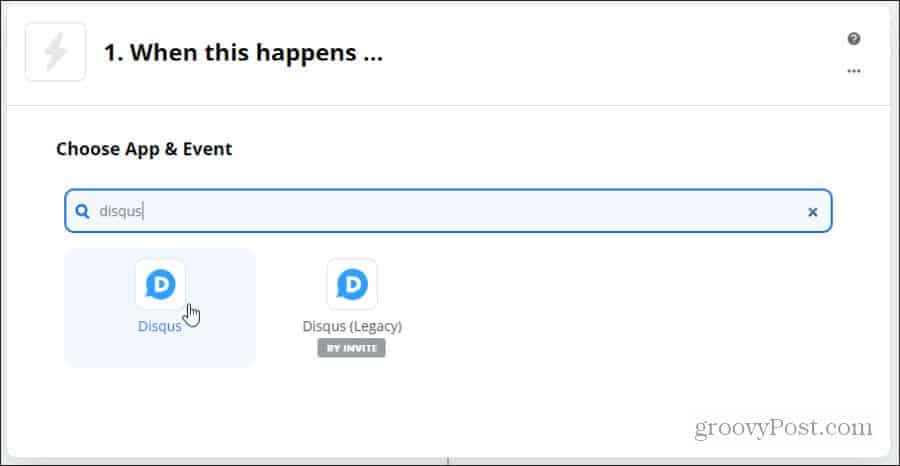
750,000 websites across the world use Disqus, making it an excellent choice for your own site. Zapier also supports it, so you can automate alerts whenever you get a comment. To do this, log in to your Zapier account and select Make a Zap! Under Choose App & Event, type Disqus, and choose Disqus from the list.
On the next page, in the Choose Trigger Event field, select New Comment.
Select Continue. On the next page, you’ll need to select Sign in to Disqus and log in using the account you use to moderate Disqus comments. When you’re done, select Continue again. Under Customize Comment, you’ll need to select the Forum for your site that you want to connect to, and under Include, select the type of posts you want to get alerted about.
Select Continue, and then Test & Continue. You’ll need to choose the app you want to use to get a comment alert for the action. A few options are SMS by Zapier (to get a text alert), an email app like Gmail, or Email by Zapier to get an email alert.
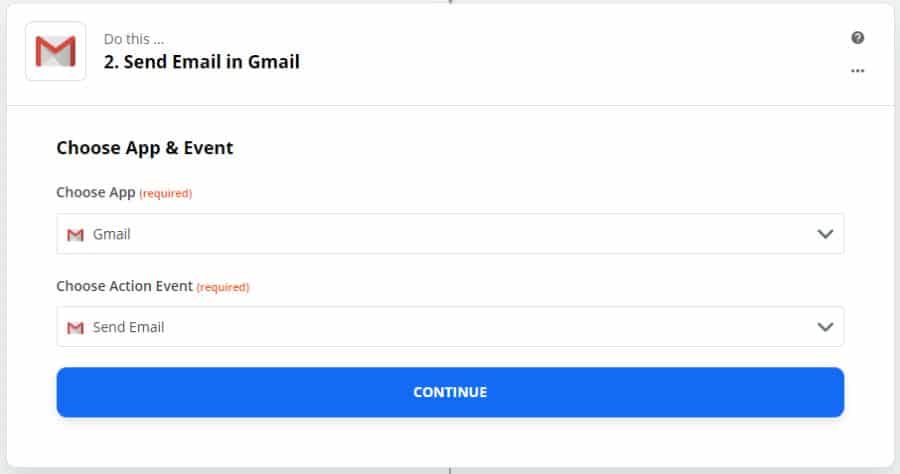
On the next page, you’ll need to select an Action Event. In this case, select Send Email.
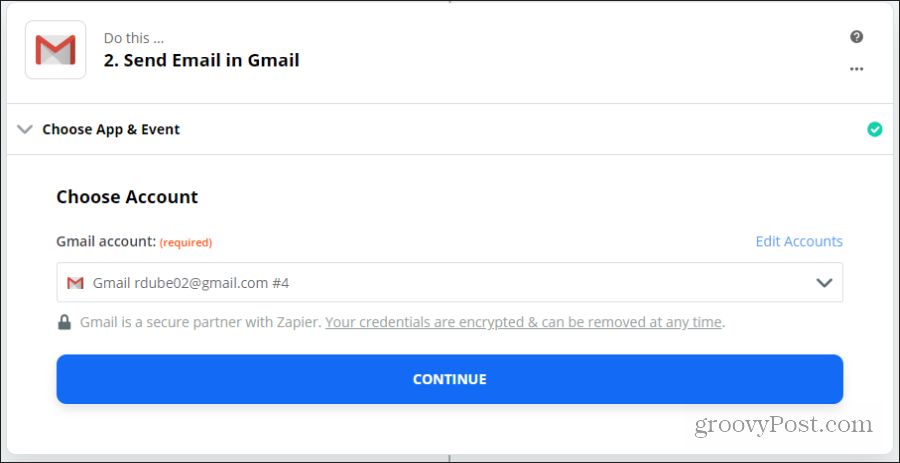
Select Continue, and on the next page, connect to the email account you want to receive your alerts on. You can either select an account you’ve already configured in Zapier or add the account in this step.
On the next page, you can customize the incoming alert email. You can add elements of the Disqus comment to fill in the To field (the email where you want to get your alert), Subject, or Body of the email.
When you’re finished, select Continue. Finally, select Test & Continue to finish. Now, any time you receive a Disqus comment on your blog, you’ll automatically get an email with some details about the comment. This will help you respond more quickly to any comments your readers leave.
Other Blog Automation Ideas
In addition to automating social posts and alerts for new comments, you have many other aspects of blogging that you can automate as well. The following are a few creative ideas:
Create a new post via SMS by using Email by Zapier to detect a new incoming email and WordPress Create Post Action to create a new draft post just by sending yourself an email with the label “zapier.”Use the New York Times trigger based on the news section related to your blog and the Google Calendar trigger to schedule post ideas when new potential article ideas show up in the news.Use the Twitter “User Tweet” event and the Twitter “Create Tweet” event to automatically retweet relevant Twitter users related to your blog on your own blog’s Twitter account.
Running a blog includes much more than just writing content. Zapier is a great resource to automate all of the other aspects of running your own website.
![]()

